

EXCEL ไป WORD


EXCEL ไป WORD

How to print wedding envelope by importing names from Excel.
In today's digital age, where data management requires speed and efficiency, printing wedding envelopes has become a task that can be simplified with technology.
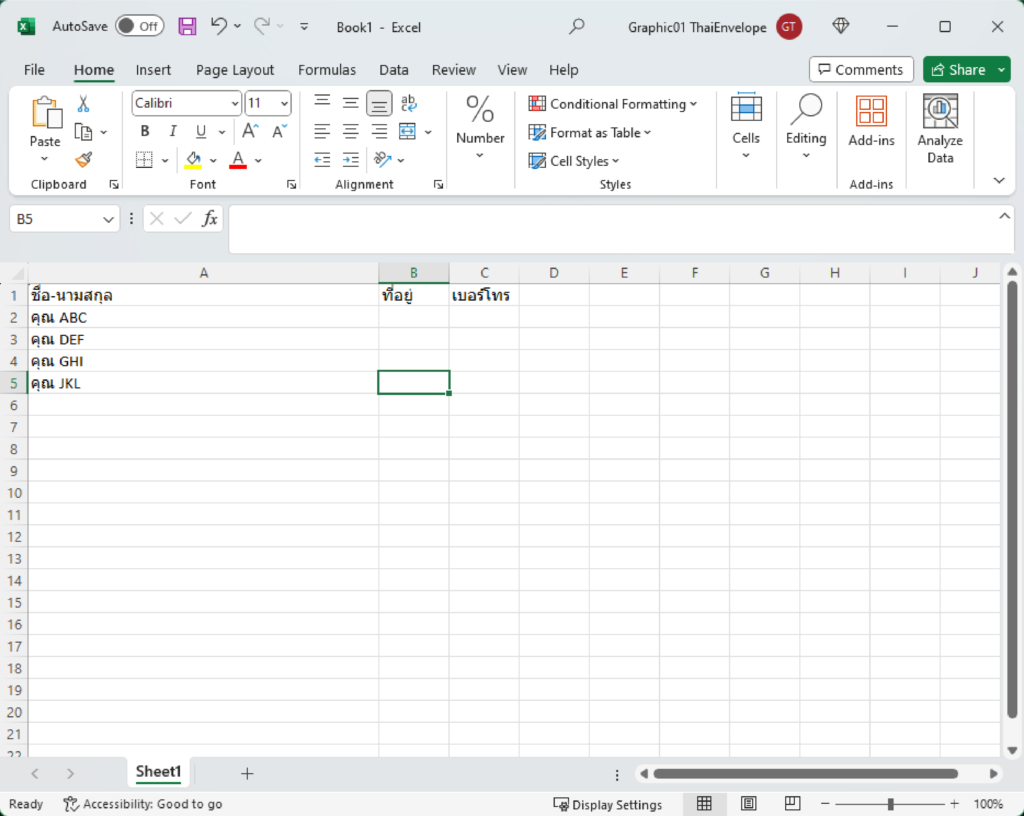
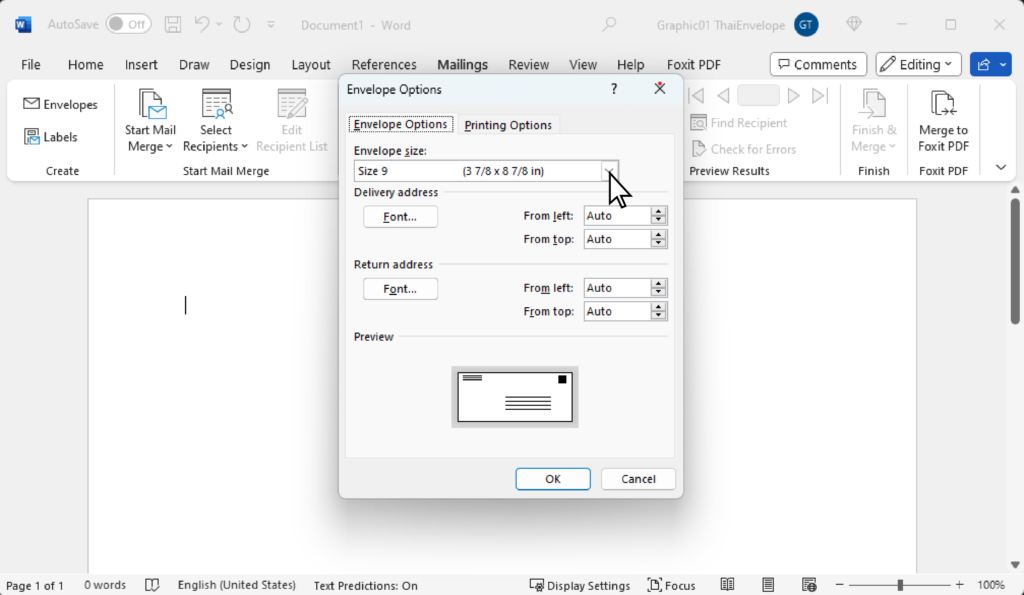
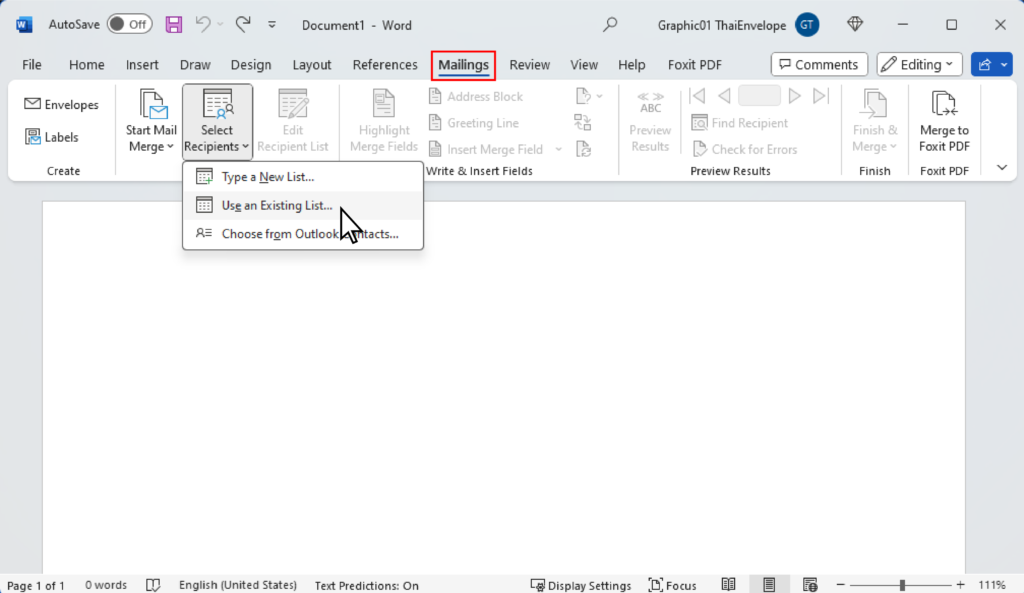
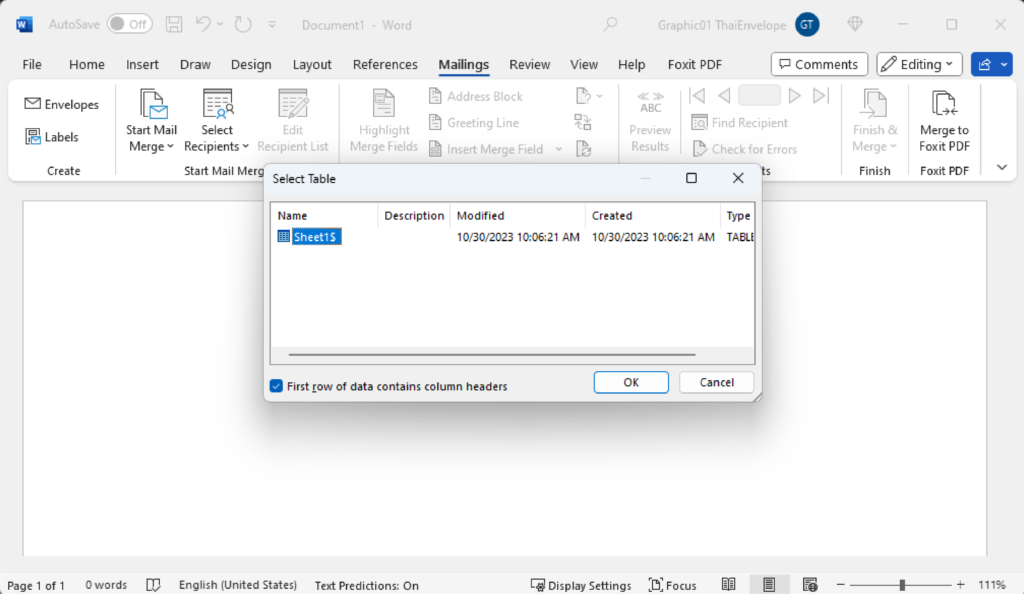
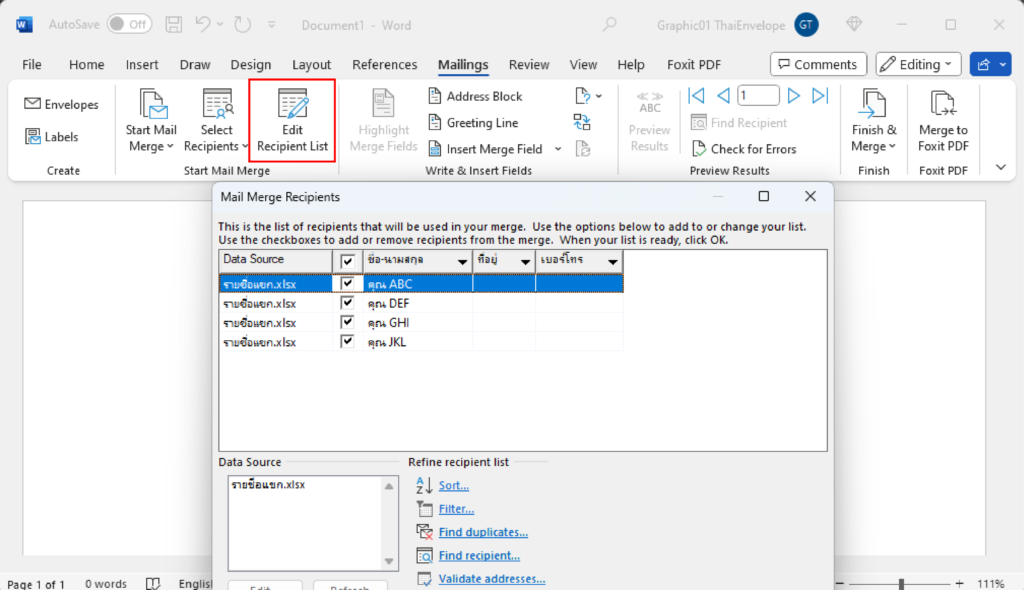
Importing Names from Excel to Word eliminates the need for manually typing each guest's name. By utilizing Microsoft Word, you can automatically print guest names from Excel directly onto envelopes. In this article, we will guide you through the simple steps involved in importing a list of honored guests from Excel into Word for convenient and easy wedding envelope printing.
Steps to Import Data from Excel to Word
1. Open Excel, type the guest names you want to invite, and then save the file.
2. Open Word, go to the Mailings menu tab, select Start Mail Merge, and then choose Envelopes...
3. A window will open allowing you to adjust the envelope size as needed.
4. After setting envelope size, select 'Select Recipients' the 'Use An Existing List'.
5. Choose the Excel file with the names that we prepared earlier.
6. Select the Sheet where we typed the names and then click OK.
7. You can select the guest you want to print from the edit Recipient List menu.
8. Select the Insert Merge Field to choose the fields you want to place on the envelope.
9. Now, our envelope front will look like the image below.
10. You can view a preview of the guest list in the Preview Results.
11. After finalizing the envelope, go to Envelopes and select Printing Options to set up printing.
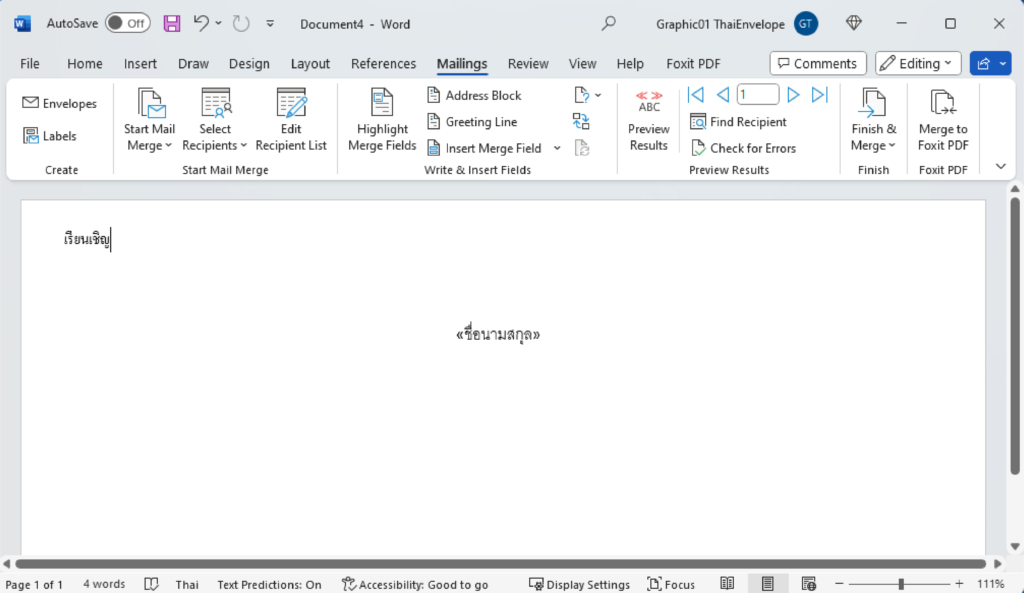
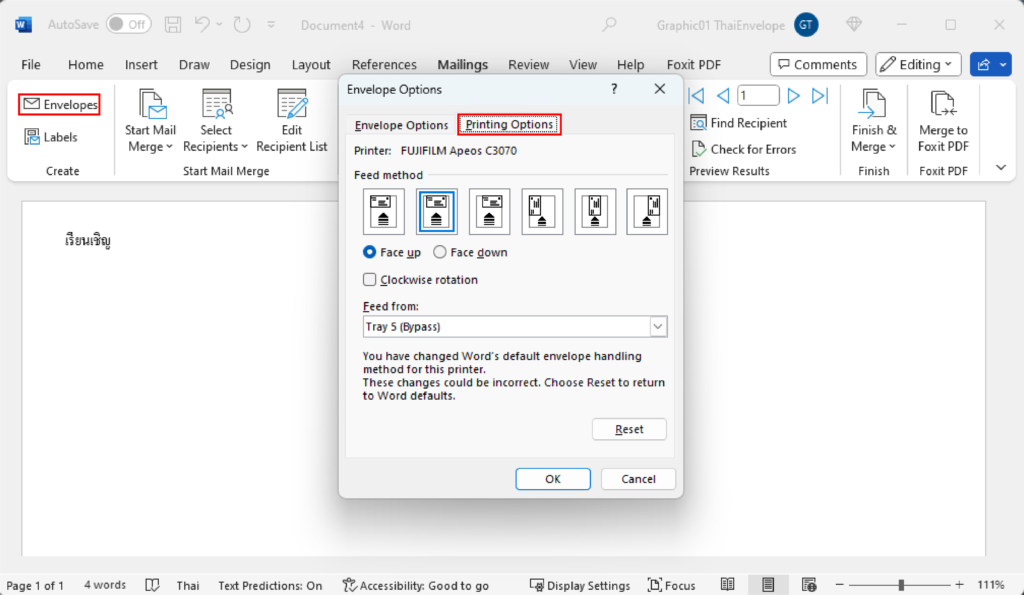
Just like this, we'll have the envelope ready for printing without the need to manually type each name. Don't forget to double-check the accuracy of the data before printing for easy sending out.
Topics of Your Interest